

If you are like most Internet radio stations, you are constantly trying to add to your audience. Listeners search the Shoutcast radio directory to find new music every day. It is the biggest online radio index with approximately 100,000 active stations and a history that dates clear back to 1999.
The original “Yellow Pages” listings did not require authorization of any kind and had a long history of abuse. Hence, it was only a matter of time before the Shoutcast authhash (short for authorization hash) was developed for security and compatibility in all Shoutcast server versions 2.6.1 and higher. Our techs have worked out the technical details below. So, you don’t have to. Please read on.
The Shoutcast Authhash
The Shoutcast authhash is the key to getting a Shoutcast Directory listing. Please follow the how-to steps below to get your radio station indexed.
- Shoutcast Directory Registration
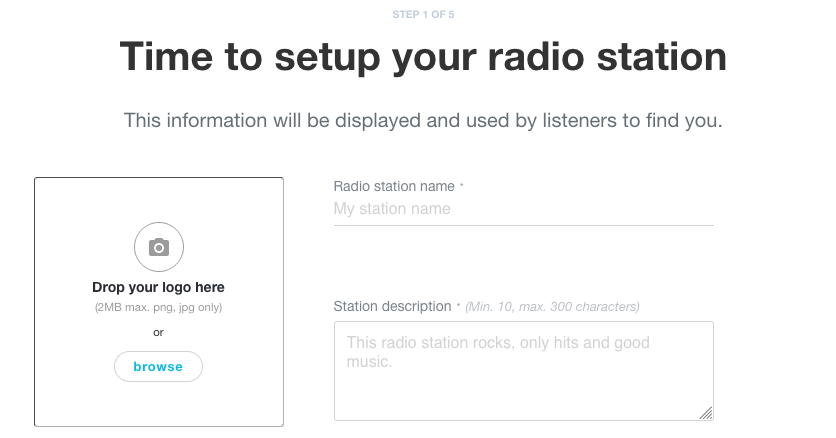
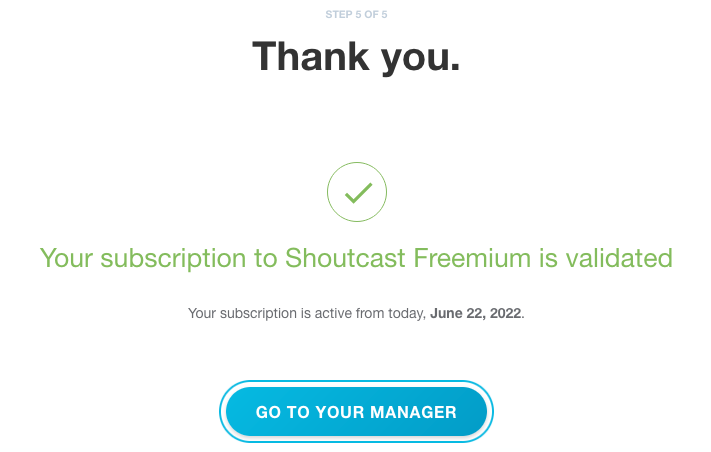
To get your Shoutcast server listed in the Shoutcast.com Directory, first, register for the Shoutcast.com Freemium plan (also known as the “Basic” plan) if you have not already. Then follow the setup steps when prompted.
- Shoutcast Radio Manager
Once you complete and save the steps go to the Shoutcast Radio Manager. This is where you will find your station’s unique Shoutcast authhash and dashboard.
- Copy Shoutcast Authhash
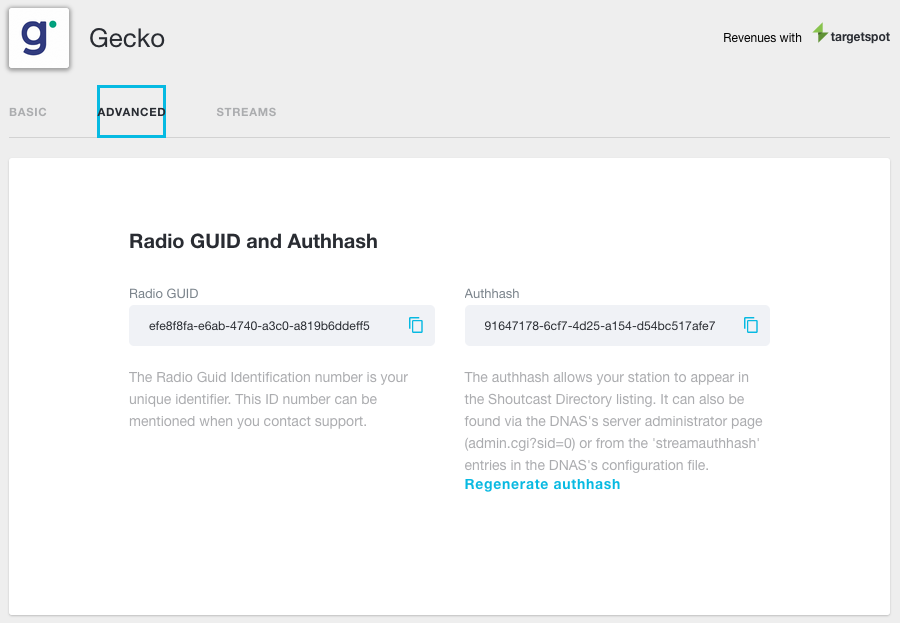
Now navigate to the “Settings > Advanced” tab as shown below. Bingo. There it is. Please copy the Shoutcast authhash or keep your browser window open. In a moment, you will need to paste the authorization hash into your Shoutcast D.N.A.S. admin. If you have a preexisting station and your IP address has changed you will need to regenerate a new authhash.
- Login to Shoutcast D.N.A.S.
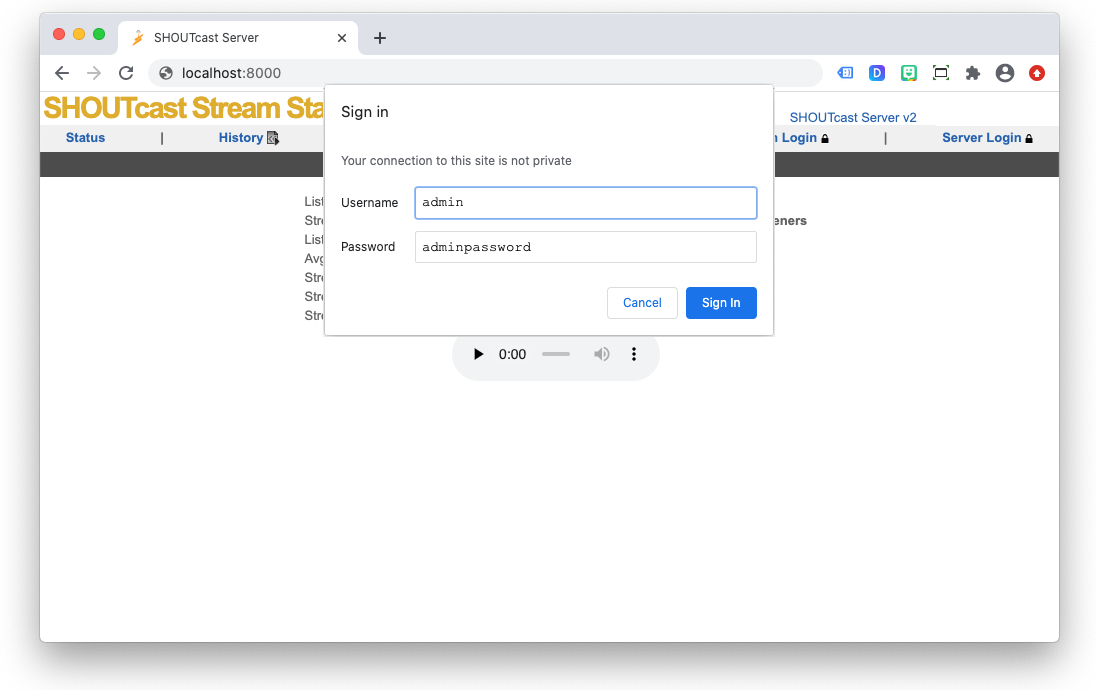
Next, open and log in to your SHOUTcast D.N.A.S. (Distributed Network Audio Server) admin. This can be done by clicking the “Server > Admin” link in the main Centova Cast navigation if you have an existing Gecko Host account.
Or, as described in the Gecko “Complete Login Guide To SHOUTcast and Icecast” help article. Remember, the username for the Shoutcast D.N.A.S. is always ‘admin.’ The D.N.A.S. admin password matches your Centova Cast and FTP passwords. You can also find this in Centova Cast “Configuration > Settings”.
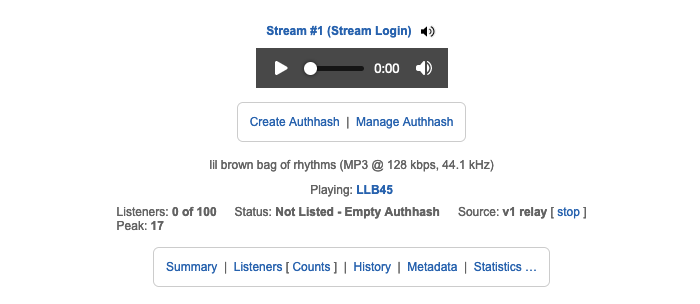
- Connect Streaming Encoder
From here, you need to navigate to the active stream you wish to list in the directory. In most cases, this will be named “Stream #1.” Please note that an Auto DJ or remote encoder must be connected for this option to appear.

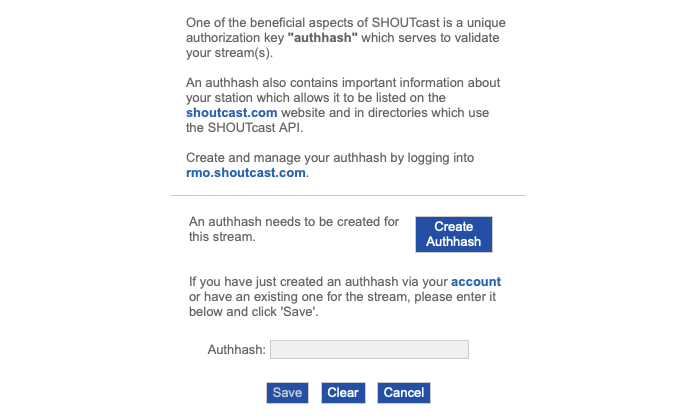
- Click Create Shoutcast Authhash
Continue by clicking the “Create Authhash” button. Then on the next page, paste the Shoutcast authorization hash you previously copied to list your station in the Shoutcast.com Directory. Press save.

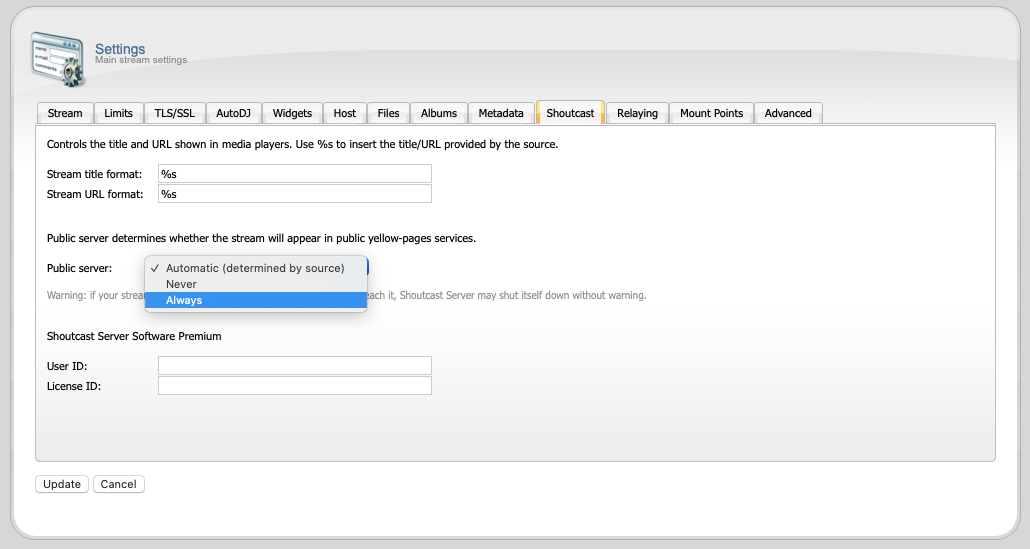
- Public Setting Always
Before restarting your Shoutcast server to apply the configuration changes, double-check that your public server setting is set to “Always” in Centova Cast (“Settings > Shoutcast” tab).
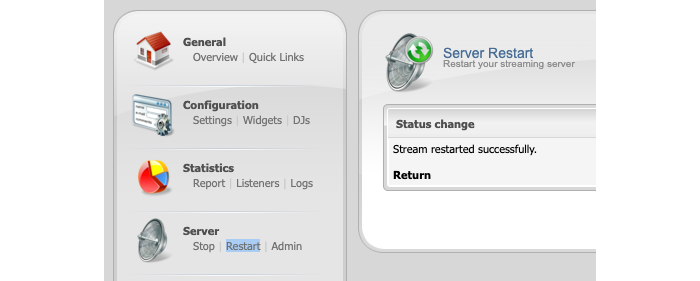
- Restart Your Shoutcast Server
Finally, while you are still logged in, restart your server via the control panel or command line to apply the configuration changes you just made. That’s it!

- Search Shoutcast Directory Listings
Of course, you will want to do a reality check and confirm that your station is listed in the Shoutcast Directory. Please allow approximately five to ten minutes before searching.
Shoutcast: The List To Get Listed
To summarize, here is a quick recap of how to get your Shoutcast radio station listed in the Shoutcast.com Directory. We recommend using the pictures and instructions above unless you are an advanced user.
- Register for a free Shoutcast.com Freemium account
- Go to your Shoutcast Radio Manager
- Copy the Shoutcast authorization hash
- Login to your SHOUTcast D.N.A.S. admin page
- Connect the stream you wish to list in the directory
- Paste and save the authorization hash code
- Double-check your server’s public setting
- Restart your server via Centova Cast
- Search the directory for your station
Above all, as long as you can provide the Shoutcast authorization hash, Gecko Host technical support can and will get you listed in the Shoutcast.com Directory. So, why not start your free 7-day Shoutcast server trial today?
-Kia Ora!